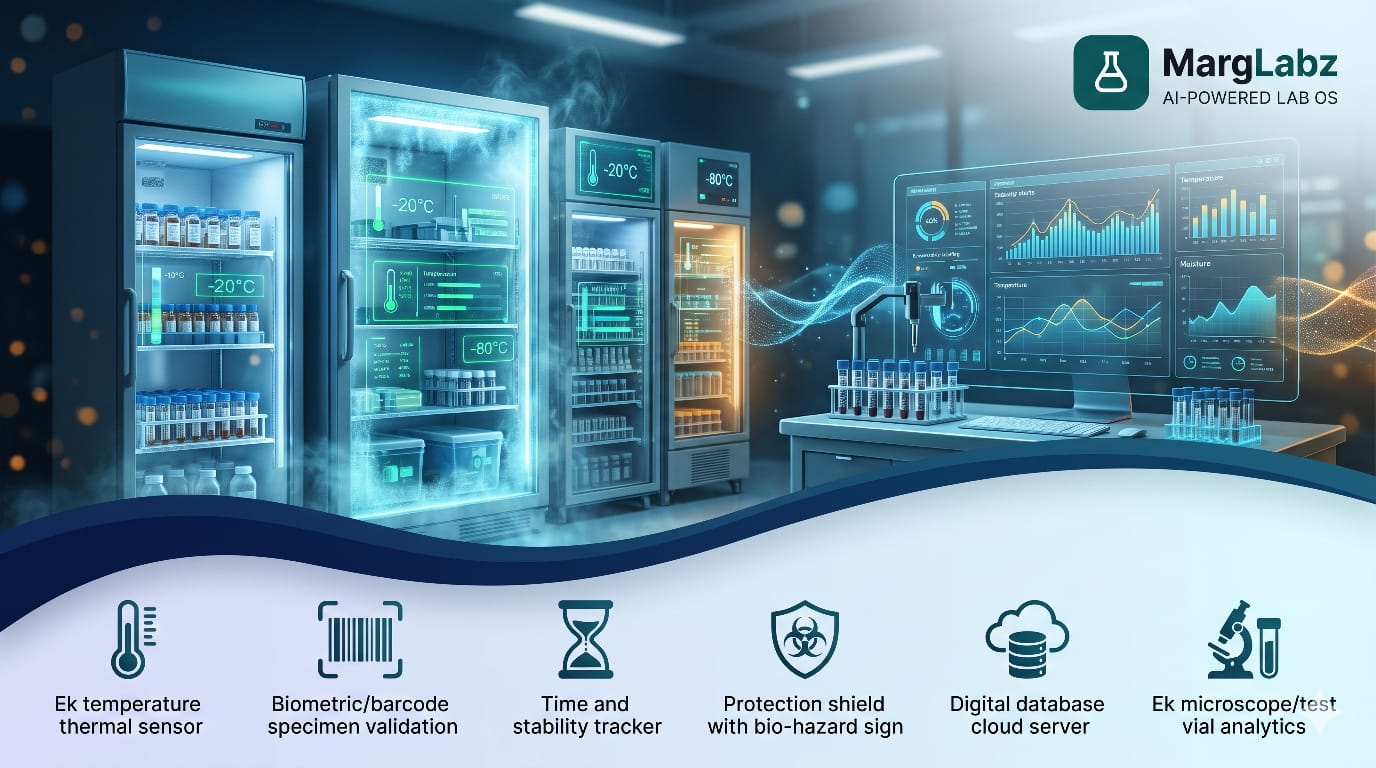
Every report issued by your lab begins far ahead of the analyzer. It begins with the initial collection process. The way the sample travels from the arm of the patient to the analysis instrument can dramatically affect the results of the analysis without being detected. Examples include a drop in glucose levels during a period when the sample is not separated; an increase in potassium levels once the sample has been cooled; and a decrease in bilirubin levels when exposed to intense lighting. These examples are examples of how errors can occur in the analytical results received by patients, but they are not caused by the analytical equipment.
For diagnostic center operators, hospital lab directors and reference lab systems, improving how you manage your sample storage temperature and specimen stability will be one of the best quality improvement initiatives you can invest in. I am providing a simple method to achieve this.
Why Specimen Stability Matters
A specimen's stability refers to the amount of time that a specific component of the specimen remains at or near its baseline concentration after it has been collected. Cells will continue to metabolize; enzymes remain active; bacteria multiply; and, compounds that are sensitive to light or heat are degraded. Handling errors lead to:
- The results may be false positive/negative (too high/too low) and require repeat testing or can result in incorrect medical decision-making.
- Rejected samples, recollection requests and unhappy patients and doctors
- Wasted reagents and staff time
- Audit findings during NABL or ISO 15189 assessments
The cost of a rejected specimen goes beyond just the tube. There are also costs related to turnaround time, confidence in the laboratory's ability to produce accurate results, and possibly patient safety.
The Variables You Must Control
Three factors drive most pre-analytical problems:
1.The temperature of the environment where specimens are kept will determine which type of storage is best. Some examples include: room temperature (approximately 20-25°C), cold storage/refrigerated (2-8°C), frozen (-20°C), and ultra-low temperature (-70°C or lower).
2.Time: Define, Measure, and Enforce the Time Elapsed From Sample Collection to Centrifugation, to Analysis and Ultimately to Storage.
3.Handling. Exposure to light, movement of the sample, what type of tube you use, additives in the tube, how much sample is placed into the tube and if the sample has gone through multiple freeze-thaw cycles can affect the results of your analysis
Storage Guidance by Sample Type
The following table outlines common principles for use. Verify all limits in relation to the reagent or kit insert, the validation of your SOPs and any other relevant guidelines; as stability differs among manufacturers and methods.
| Sample / analyte | Main risk | Common practice |
|---|---|---|
| Serum or plasma (routine chemistry) | Cells keep consuming and releasing substances | Separate from cells promptly, commonly within 2 hours; then store at 2-8°C |
| Glucose | Glycolysis lowers the value | Use a fluoride tube or separate quickly |
| Use a fluoride tube or separate quickly | Rises in chilled whole blood | Do not refrigerate before centrifugation |
| Ammonia, lactate | Change rapidly | Keep on ice or process immediately |
| Bilirubin and some vitamins | Light degradation | Protect from light |
| Coagulation samples | Cold can activate factors and platelets | Keep at room temperature; do not refrigerate |
| Urine | Bacterial growth, cell breakdown | Test within about 2 hours or refrigerate |
| Blood culture | Cold harms organisms | Room temperature; do not refrigerate |
Build a Storage and Cold-Chain SOP
A good SOP removes guesswork. At a minimum, document:
- Acceptable time and temperature limits for every specimen type and test
- Who centrifuges, aliquots and stores samples, and within what time
- The different types of samples should be stored in separate, labeled areas; this includes regular samples, those sent out for analysis and the ones kept as retention samples.
- Packaging and transport rules for collection centres and couriers
- Rejection criteria and what staff must do when a sample is out of limits
- Retention periods and safe disposal
All phlebotomists, runners and technicians should be trained on the exact same document, and tests of understanding of that document should be conducted rather than simply assumed.
Monitor Temperature Like You Mean It
A refrigerator which was working well yesterday may have a temperature drift problem today. Good monitoring would include:
- Calibrated thermometers or data loggers in each of your refrigerators, freezers, and incubators.
- Defined acceptable ranges and alarm limits
- Daily logs, or continuous electronic records, reviewed by a named person
- A written protocol for handling an out-of-specification (OOS) event: isolate contaminated samples, determine stability of affected samples, make decision based upon the assessment, document the findings and results, and report the event.
- Backup power or contingency storage for critical freezers
- Regular maintenance and recalibration
Do not forget about transportation. You can show proof that your samples remained within acceptable ranges during transport using insulated containers with temperature gauges or data recorders.
Aliquoting, Freezing and Retention
The sample isn't always tested immediately. If the serum/plasma will require further testing, repeat checks, or shipping to another laboratory then make sure to separate it into individual, labeled containers. Only freeze the portion of the sample that you are going to use; as freezing/thawing repeatedly can cause damage to certain analytes. All remaining samples should be stored in an organized fashion, traceably (with dates of retention and disposal) so that a physician's question regarding a sample from a couple of days ago can be responded to promptly and with confidence.
Special Challenges for Multi-Branch Labs and Reference Laboratories
The network has an even more difficult challenge. Specimen samples are collected at various sites and sent to a single laboratory location. This journey may require traveling across several cities with different weather conditions and traffic patterns. In order to ensure that the specimen's integrity is maintained, the following must occur:
- Standardise packaging, labelling and pickup schedules across all branches
- Record collection time, pickup time and receipt time for every sample
- Set more stringent criteria for when a test must be completed, and direct those tests to the closest appropriate laboratory.
- Track rejection rates by branch, courier and route to find the weak link
- Give your B2B customers the most simple and direct analytical instructions possible before they send you a sample for testing. Your customers' collection methods can affect how good of a result you get.
How Pathology Lab Software Supports Specimen Stability
Using paper logs and manual registers makes it difficult to show you have complied with your storage requirements. Modern pathology lab software takes the SOP and turns it into a daily process.
When evaluating pathology software or lab management software, look for:
- Barcode labelling and sample tracking from collection to disposal
- Time stamps for collection, receipt, centrifugation and storage
- Defined sample types, containers and storage conditions linked to each test
- Rejection reasons recorded in a standard format, with reports by branch and user
- Audit trails showing who handled a sample and when
- Role-based access, so only trained staff change critical records
- Dashboards that show pending, delayed and rejected samples
The goal is not to have more data entered into the system. Rather, the goal is to reduce the number of unexpected problems that occur. A good laboratory management software will alert you to the fact that there are samples being held up in the testing process, and give you the opportunity to address this issue prior to the sample’s test results being reported to the patient. Additionally, a quality laboratory management software can assist with maintaining laboratory accreditation through proper documentation and organization of all records so that they may be readily available for review during an audit.
The AI-powered lab operating system called MargLabz is designed to assist laboratories with the implementation of structured sample workflow, organization of patient records, and improved operational visibility during everyday operations.
Common Mistakes to Avoid
- Even though refrigeration can damage some types of samples, many people believe that it is always best to "be safe" and refrigerate every sample.
- Leaving unseparated tubes on the bench during busy hours
- Storing samples in shared kitchen-style refrigerators with no temperature record
- Repeatedly freezing and thawing the same sample instead of keeping aliquots
- Ignoring light-sensitive test requirements
- Treating rejections as one-off events instead of analysing the pattern
Quick Checklist
- Stability limits documented for every test
- Storage equipment calibrated and monitored
- Alarm and excursion procedures in place
- Transport conditions defined and tracked
- Rejection data reviewed monthly
- Staff trained and competency checked
- Software supports tracking, time stamps and audit trails
Final Thoughts
Accuracy depends on stable specimens. Stability in turn is dependent on a disciplined environment with clear standard operating procedures (SOP), reliable instrumentation, properly trained personnel and accurate record keeping. A pathology laboratory's software system will help to maintain this level of discipline throughout all of your labs, whether you have one or fifty.
Are you ready to experience the benefits of structured workflow processes within your lab? Schedule a free demo with MargLabz today! Go to marglabz.com