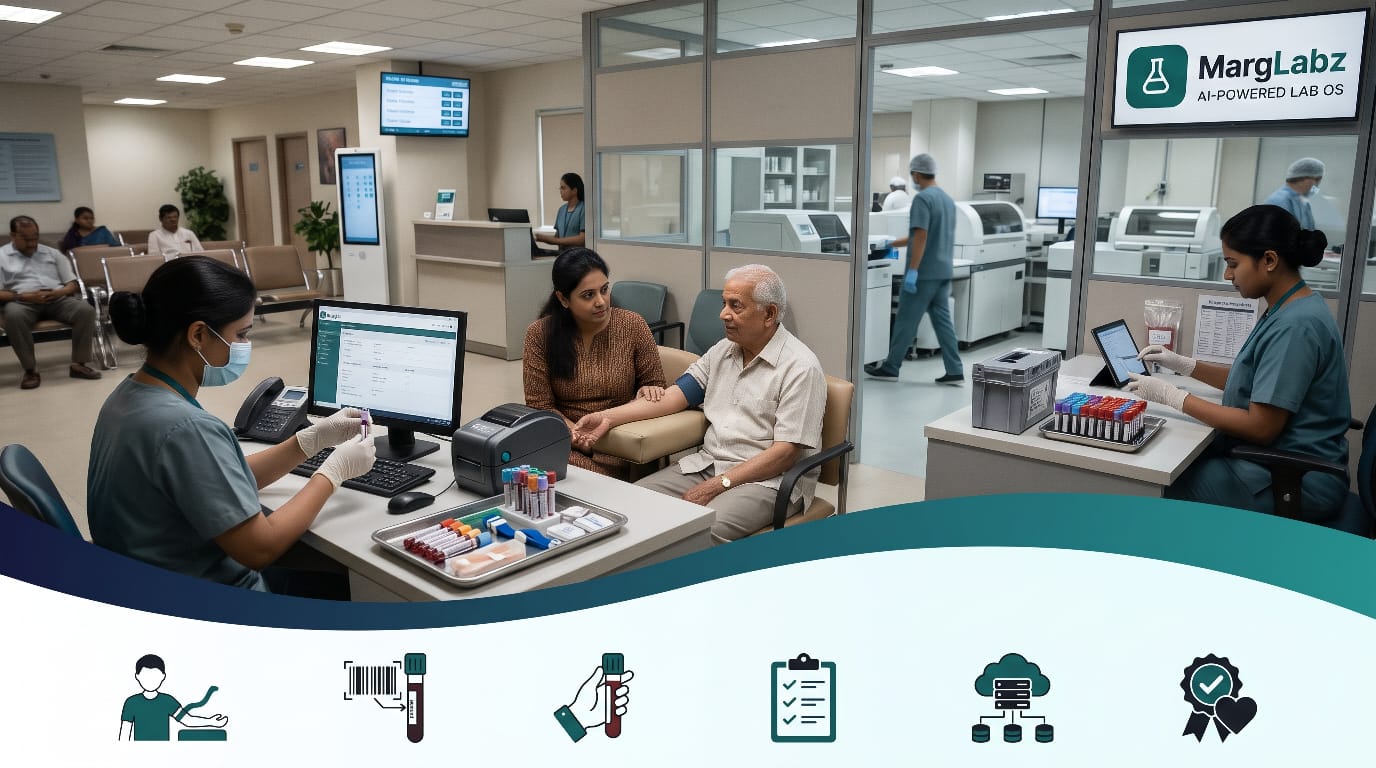
When asked about where reporting problems happen in labs, most lab managers will say they occur at the collection counter and not inside the analytical equipment. Problems that occur before the sample is received by the lab, including improper labeling of tubes, insufficient amounts of samples collected, patient collections occurring before fasting, and delayed delivery of samples by courier services can lead to rejection of samples, additional collection of samples, delay of results, and dissatisfied patients.
This article is written for owners of laboratories and pathology centers, as well as managers of those laboratories, operations directors, and operators of collection sites. This article is designed to provide guidance on how to organize the sample collection process from the point in time that a patient makes an appointment to the arrival of the sample at the laboratory. Additionally, this article will describe how the application of appropriate software can assist in facilitating this process.
What Is Phlebotomy Workflow Management?
Phlebotomy is the term used to describe the collection of blood samples for diagnostic testing. Managing the workflow associated with phlebotomy includes all aspects of the process including scheduling appointments, registering patients, delivering pre-test education to patients, confirming the patient's identity, utilizing a predetermined collection method, labeling the sample, transporting the sample to the lab, accepting the sample into the lab, disposing of samples that cannot be processed and obtaining samples from homebound patients.
In order to improve quality and reduce turn-around time (TAT), it might be more beneficial than anything else to reduce or eliminate the errors caused by the pre-analytical phase of testing. The pre-analytical phase includes everything done before the test is performed. There are many reasons why this part of the testing process can lead to many errors. One major reason is that there are so many manual operations involved. Also, the people that perform some of these operations are not controlled by the laboratory. Therefore, if we can control these areas of the testing process, we could greatly increase the quality and reduce TAT in our laboratory.
Common Problems
- Long queues at registration and the collection room
- Patients unaware of fasting or preparation rules
- Mislabelled, unlabelled, or wrongly matched tubes
- Wrong tube, wrong order of draw, or insufficient volume
- Hemolyzed or clotted samples
- Delayed or untracked transport from collection centres
- Inconsistent practices across branches
- Poorly managed home collection routes
Step 1: Manage Appointments and Patient Flow
Customers should have two ways to make an appointment: online and over the phone. When making an appointment, they should be able to select from a list of available times. Customers should receive pre-test instructions such as whether or not they need to fast before the test and what type of identification is needed via text messages or WhatsApp. There needs to be clear distinctions made among customers arriving at your facility; some may not have made an appointment, others have made an appointment and still others will have their samples collected from home. You also need to implement a token system so you can control customer traffic flow. Finally, you should schedule phlebotomists' shifts during your business's busiest periods.
Step 2: Identify the Patient Correctly
Patient identification is the single most critical step in protecting the safety of all your patients. You must utilize at least two forms of patient identification (i.e. first/last name, DOB, registration number) to accurately identify each of your patients. Have your patient provide you with these identifiers. Prior to collecting samples from your patient, confirm that all tests ordered align with those that were scheduled; determine whether or not there are any fasting or timed sample collection requirements; and complete registration before collecting samples from your patient so that the system can generate the correct bar codes.
Step 3: Prepare the Station and Follow Correct Technique
Be sure to have a sufficient supply of tubes, needles, and labels. Additionally, verify that all items are not expired. It will be helpful to have the tubes you will use available to view. The correct order of drawing the blood is documented. Prioritize adhering to your SOP prior to referring to the manufacturer's directions for correct usage of each type of tube. Typically, blood is drawn in this general sequence: blood cultures, light blue (citrate), red/gold (serum), green (heparin), lavender (EDTA), and gray (fluoride). You must adhere to time constraints when using a tourniquet. Ensure all tubes are filled to capacity. When mixing the tubes, do so gently.
Step 4: Label at the Point of Collection
Immediately after collection, print out a bar coded label from the system and apply it to the patient's sample. Print out labels from the system rather than write them by hand. Be sure to include all of the required information as per your standard operating procedure (SOP). Document the collector's name on the label. Always follow a documented process for making corrections to incorrectly printed labels. Do not print more than one label for each sample unless you have to make a correction to an error.
Step 5: Store and Transport Properly
Maintain correct temperature for each sample; use closed, clearly labeled containers; set up a pickup schedule that includes additional runs when necessary to handle emergency samples. Document the times that samples left the laboratory and when they were received at the laboratory to show where delays occur; decide what length of time may be allowed between the time a sample is collected and when it is analyzed by the laboratory for each type of testing. For multiple branch laboratories, transport is usually the weakest link in the process and can easily be improved to help reduce time.
Step 6: Check Samples on Receipt
Log receipt through scanning barcodes; verify labels, tubes, volumes and conditions for each sample; record why any samples are rejected as unacceptable for processing. Notify the site of collection immediately if a sample requires recollection, and give priority to samples that require urgent processing.
Step 7: Track and Reduce Rejections
Record the reason for each rejection: clotted, hemolysis, low volume, unlabelled, or wrong tube. Review rejection rates by phlebotomist, branch and center; provide training as needed when trends emerge; and simplify recollection for patients. A good indication that you have a healthy collection process is a declining rejection rate.
Step 8: Manage Home Collection and Centres
When you pick up from a patient's house, you will need to schedule out your delivery time frames through route planning; give every one of your phlebotomists a list of all of their assigned patients and the test(s) they are going to do on each of those patients via their mobile devices; carry barcodes so that every single sample is labeled properly; and use temperature-controlled bags for transporting the samples. Upon arriving at the patient's door, you should verify the identity of the patient as carefully as you would if you had collected the sample at one of your collection sites. After collecting the sample from the patient's house, you will have a limited amount of time to get it back to the laboratory. The above-mentioned processes are also used at both your collection sites and by your franchisees.
They too use the same standard operating procedure (SOP) as stated above; label their samples with the same labels; and receive the same level of training. Additionally, you will also need to monitor the quality of service provided by each of your collection sites and the turn-around time (TAT) associated with each site.
How Lab Software Supports the Workflow
A well-designed LIMS (Laboratory Information Management System) will be able to help with many aspects of the laboratory process. These include, but are not limited to, the following: scheduling and queuing of appointments, rapid automated registration with auto-generated bar code labels, pre-test instructions, receiving of samples via scan, rejection tracking, delay notifications and a performance dashboard view for every laboratory.
The introduction of modern pathology laboratory software, laboratory management software and other laboratory software allow for all of these systems to function together as an integral part of the laboratory environment. In doing so, they enable users to monitor a sample's journey through the laboratory from one central point. For larger network environments, the utilization of diagnostic center management software enables the user to centrally manage collection centers and home collection teams. The utilization of a laboratory management system with branch-wise reporting enables the user to determine which collection centers need additional attention. Ultimately, regardless of what the user refers to the system as; it should assist the staff in obtaining samples rather than creating additional difficulty for them.
Where MargLabz Fits
MargLabz is an artificial intelligence-powered, cloud-based operating system built for diagnostic and pathology labs, collection centers, and growing lab networks. MargLabz offers integration with registration, billing, accessioning, worklists, validation, quality control, stock management, and reporting all on one platform; as well as a user-friendly dashboard that tracks order volume, sample collection progress, and turnaround time (TAT). The starting price of MargLabz is ₹999 per month plus applicable taxes. Before deciding whether to implement MargLabz or another provider, you should ask for a product demonstration and examine your existing sample collection procedures.
Key Metrics to Track
The waiting time, rejection rate because of a specific reason, labeling error, time from collection to receipt of the sample, on-time home visit, number of samples collected by each phlebotomist, and the time from collection of the sample to reporting the results (TAT) are all monitored on a weekly basis for each branch and on a monthly basis across the entire network.
Common Mistakes to Avoid
- Handwriting labels instead of printing barcodes
- Labelling tubes before or away from the patient
- Skipping the two-identifier check during busy hours
- No fixed transport schedule for collection centres
- Not recording rejection reasons
- Unequal training across branches and franchises
- Judging phlebotomists by speed alone, not sample quality
Final Thoughts
Prior to performing any analyses on a report, the quality of that report will depend on the actions taken before the analysis is performed. These actions may include collecting a blood sample from a quiet environment, correctly identifying the patient from whom the blood sample is collected, properly labeling the blood sample containers, and submitting the collected blood samples to the laboratory in a reasonable amount of time. All of these steps provide the foundation for the next steps in the phlebotomy workflow process. The objective of phlebotomy workflow management is not to have employees perform their job functions at a faster pace. Instead, the goal of phlebotomy workflow management is to develop a clearly defined process, provide employees with the resources necessary to successfully complete their assigned tasks, and understand what happens to a blood sample once it is collected.
MargLabz offers lab management software designed specifically for diagnostic and pathology labs. This enables users to connect all of their collection centers, home collection services and laboratories into a single, integrated network. The starting price for our services is ₹999 per month (plus GST).